Now, if I can just remember what I did so I can make wings that look as if they belong with her. What color???
THEN I get to start with the embellishments. Can't wait to get out the beads!
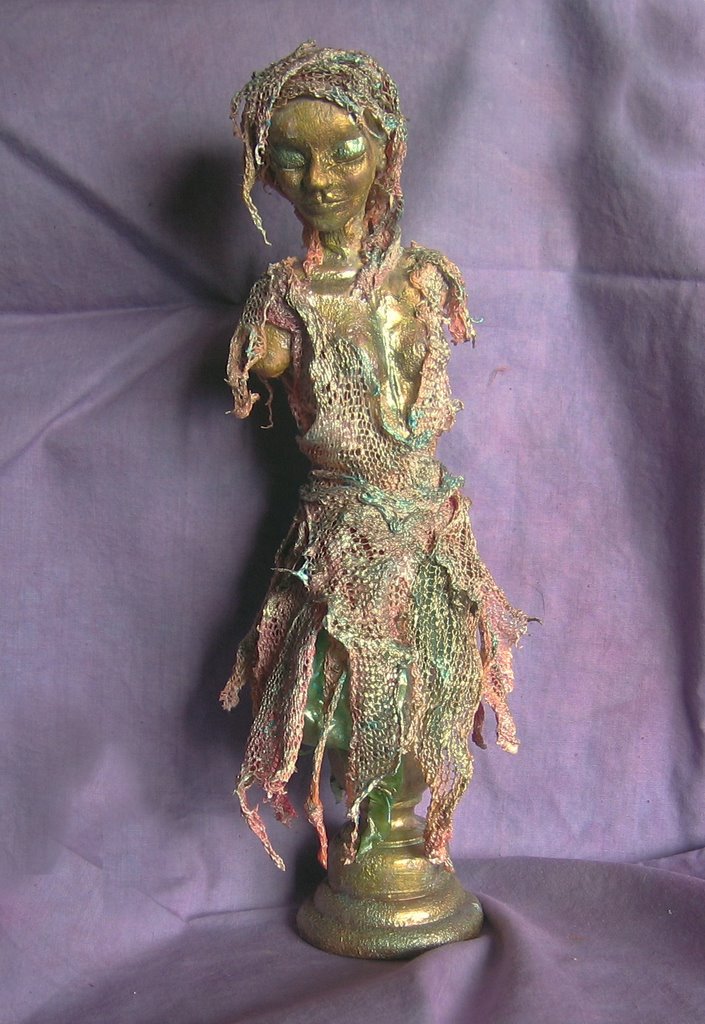
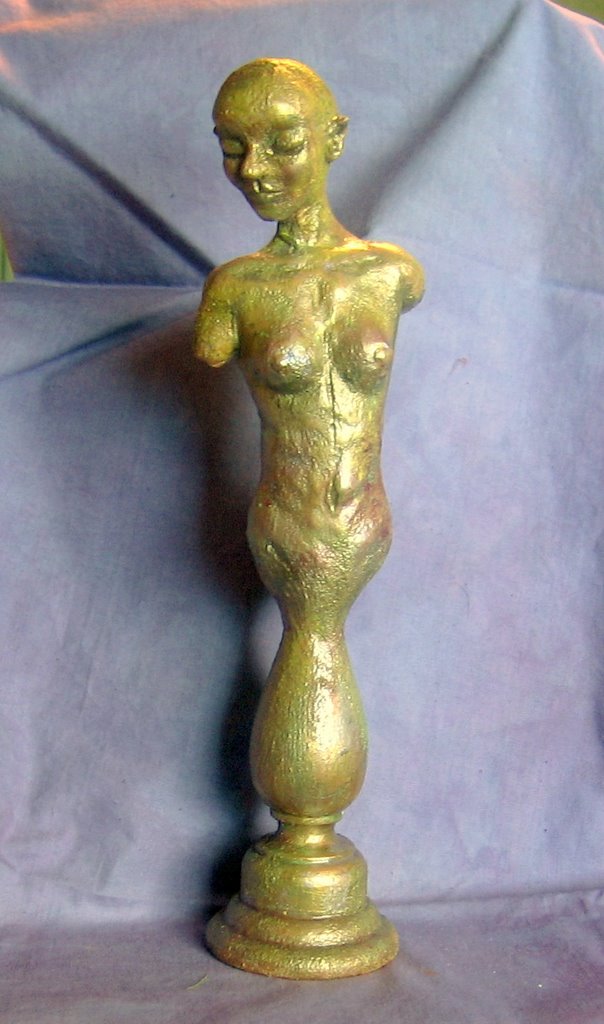 She just keeps going and going...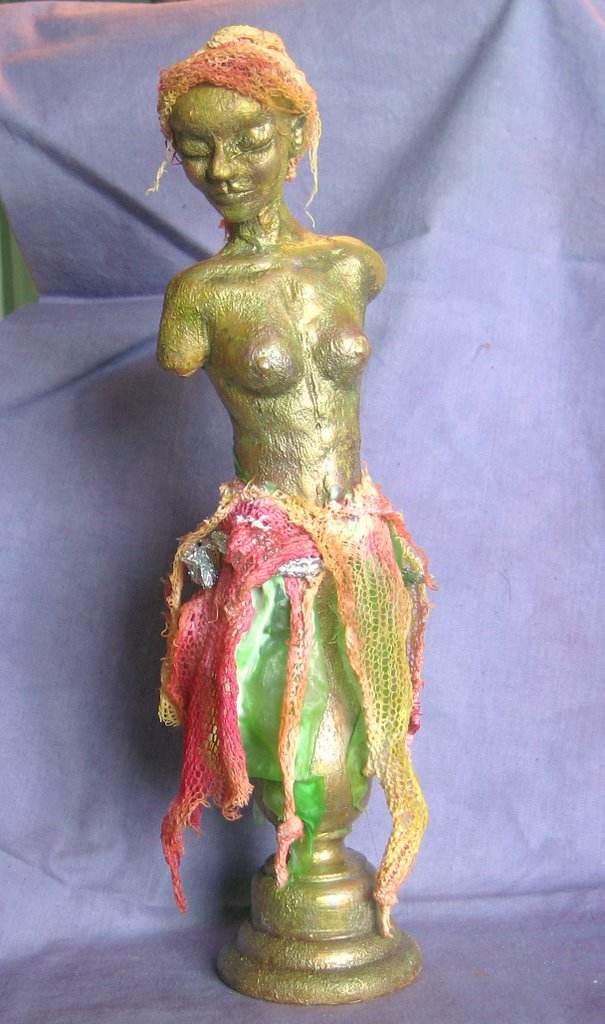
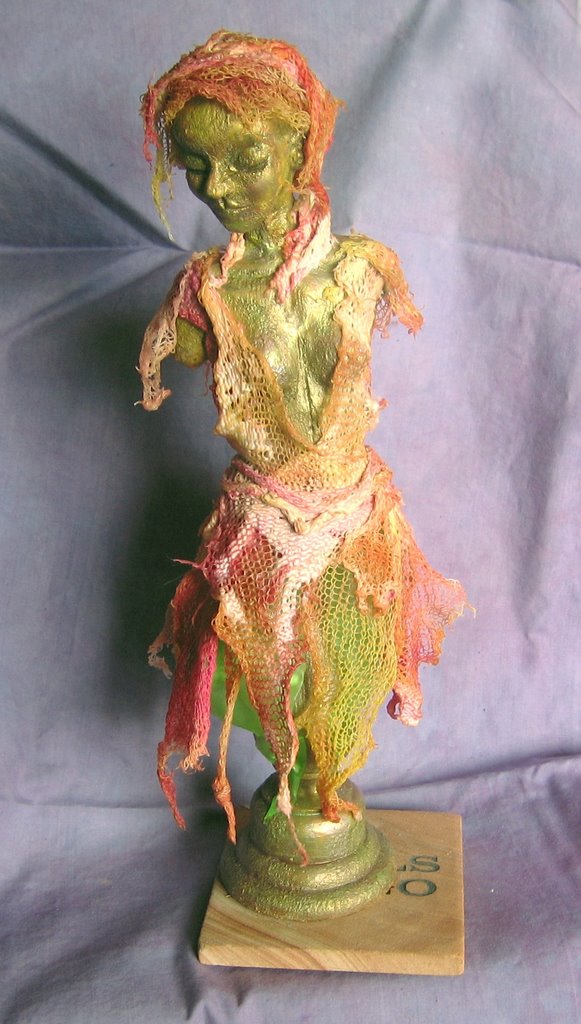
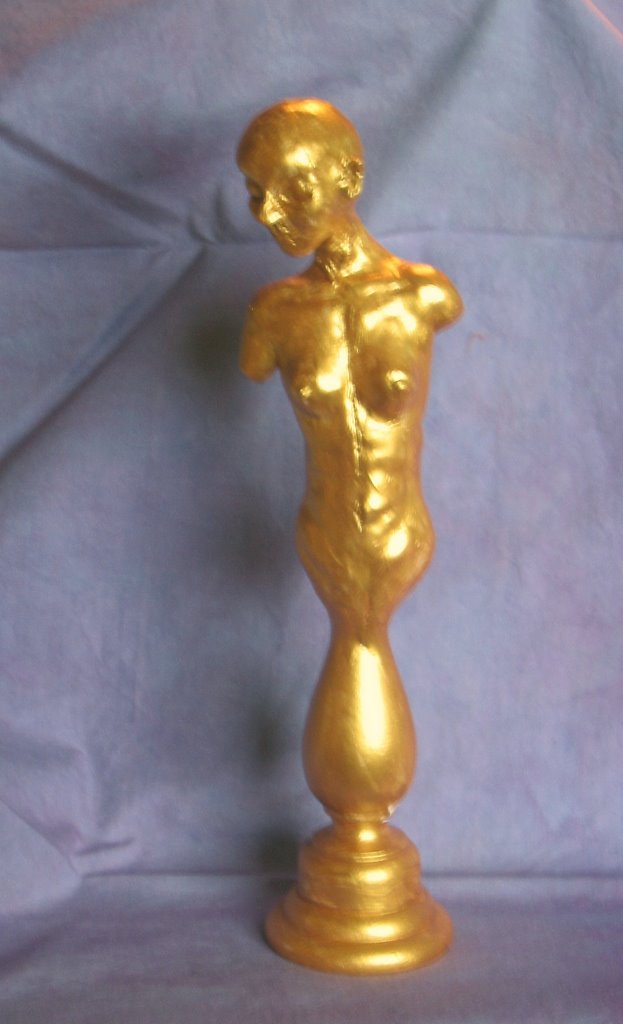 Then I added a layer of texturizing medium. Cool stuff! I will have to play with that some more.
 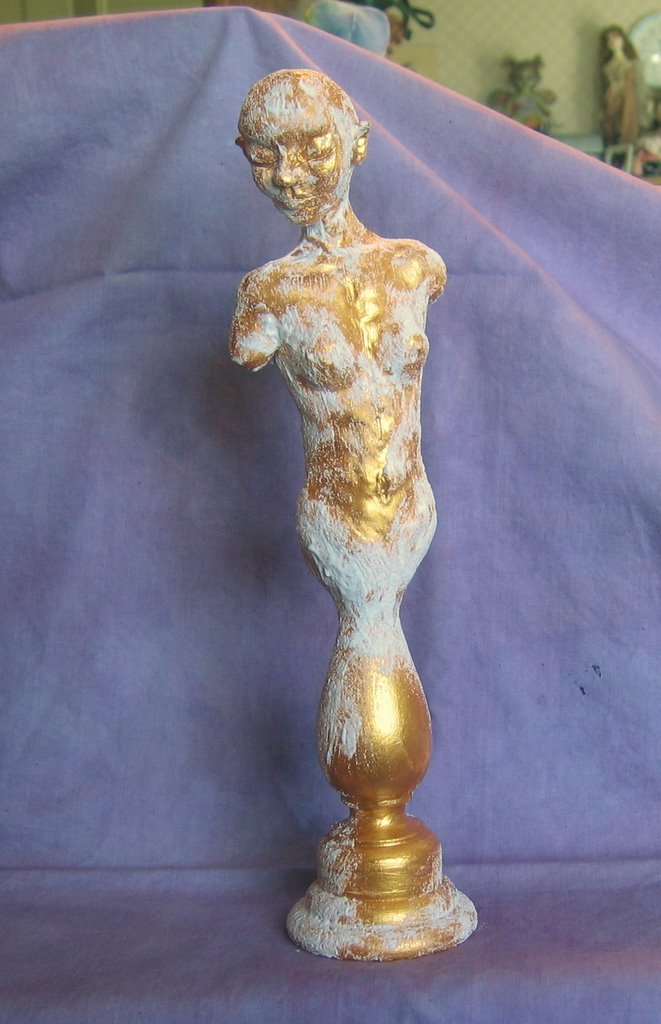 Another layer of gold paint to blend it all together...
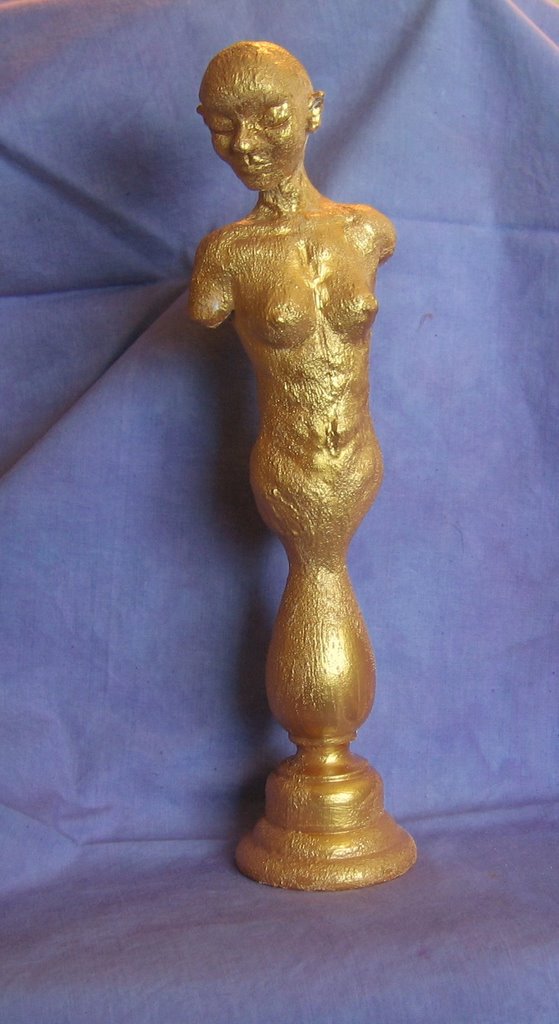 ...followed by a wash of watered down black paint. I am REALLY likeing how she looks right now. The next step in the class calls for working her over with some sand paper, but I'm not sure I want to do that. I'll just let the idea percolate a bit. The teacher's sample looked great after the sanding, but I don't want to ruin what I have started!.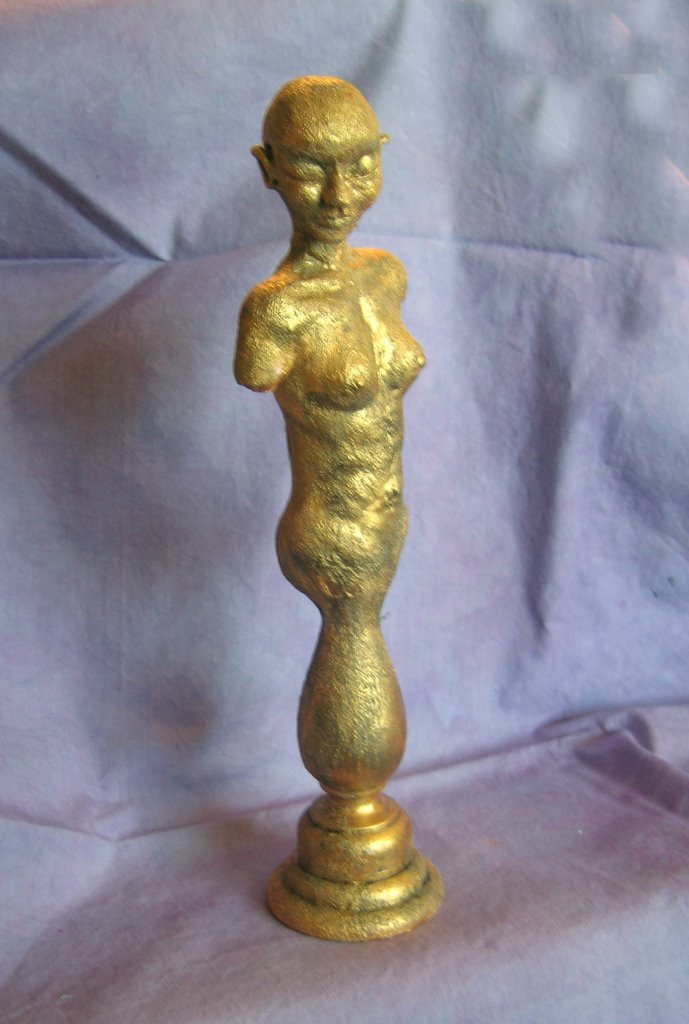

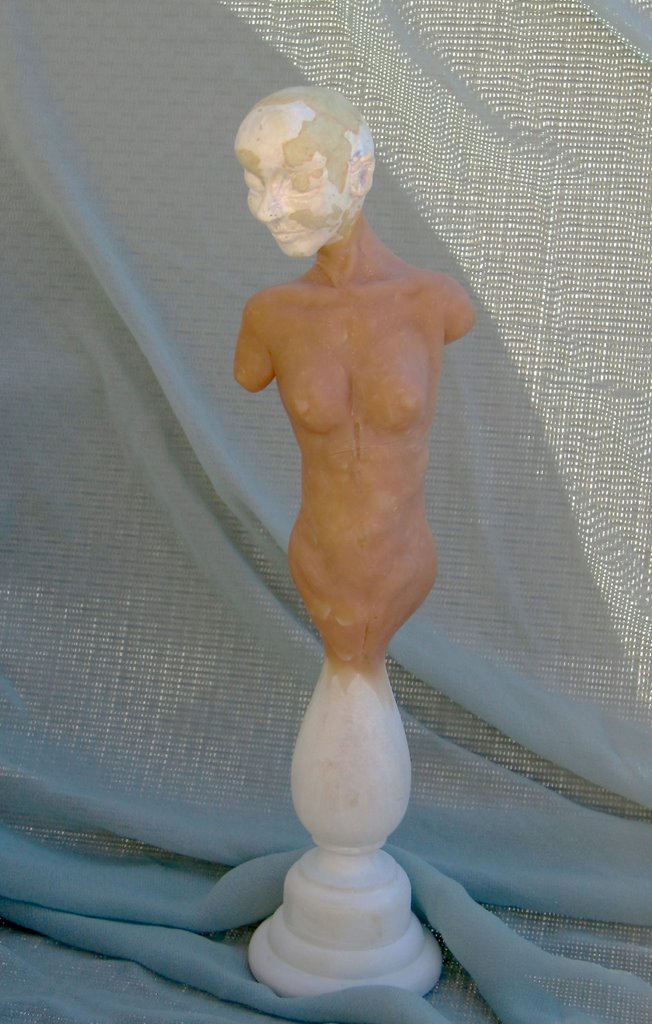 This photo was taken outside in later afternoon sunshine. I thought I would get truer color this way, but it didn't work out that way. The clay did darken a bit in baking, but not nearly this much!
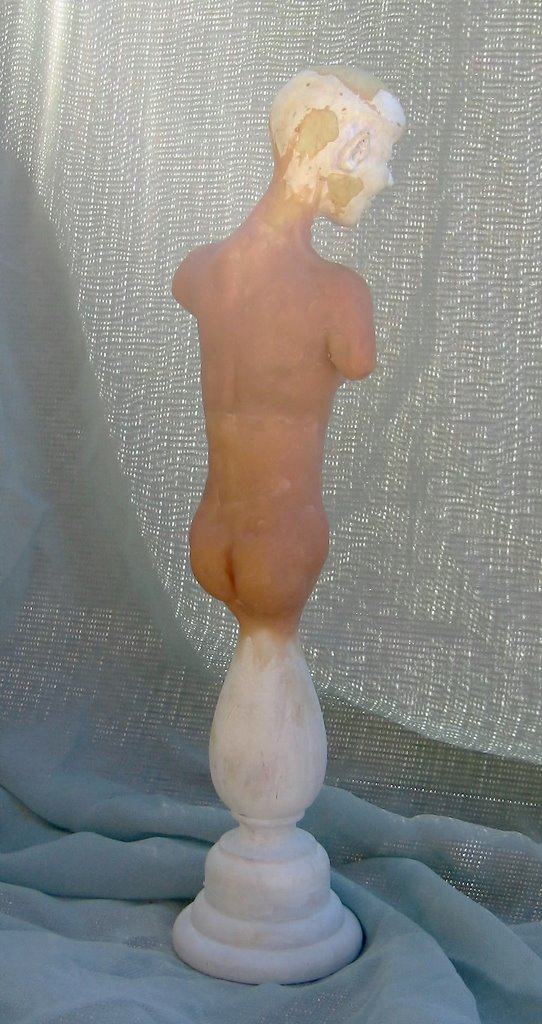 This is the back view. She actually has a much cuter little bottom than this photo shows. It will be a little bit of a shame to cover it up.
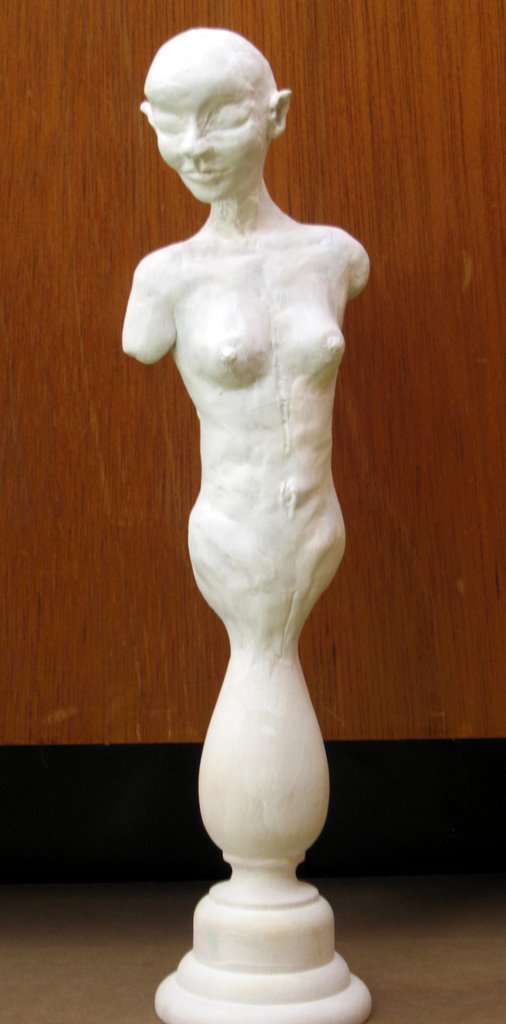
 Here is the same head with 2 coats of gesso. As soon as the gesso is dry I can begin to put it together with its pedestal. I am so excited! I love to sculpt! This is my first "eyes closed" head. I'm not crazy about the look -- I like to see a soul behind the eyes -- but I finally managed to sculpt a pretty mouth. It will be interesting to see this character evolve.
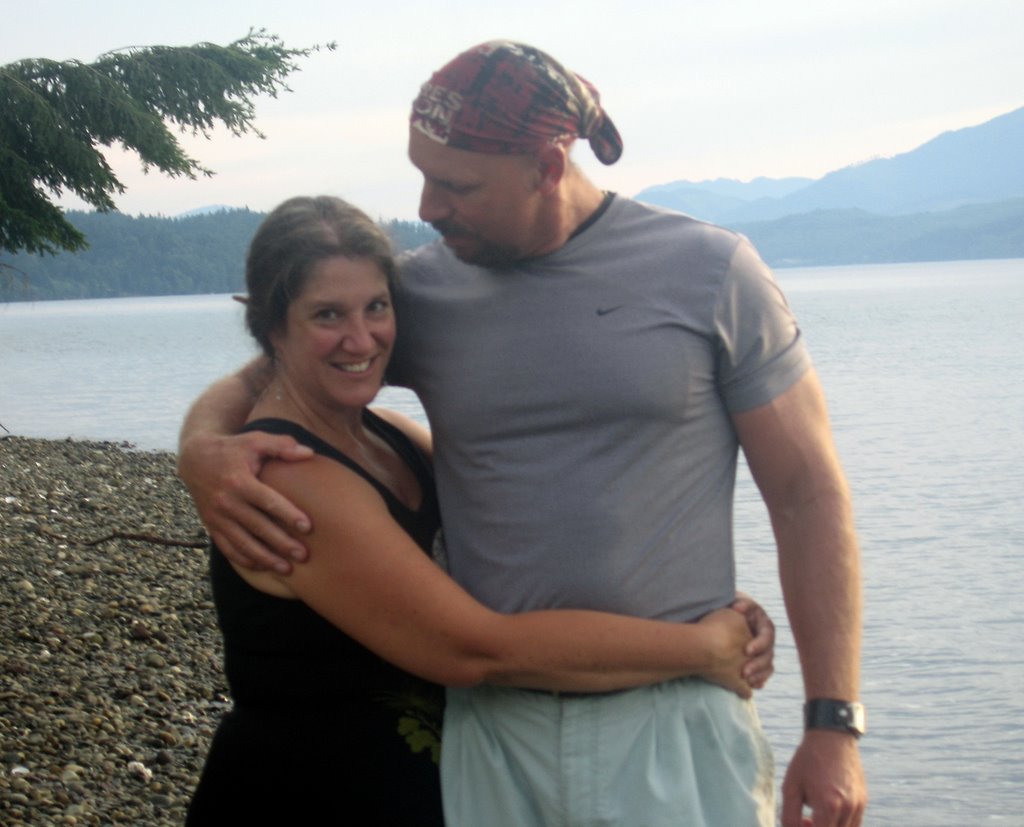 We finally got a chance this past weekend to visit my son and his wife in their new home in Bremerton, WA. Oh my, was it every hot there, but we had a nice visit -- I am so happy to see *them* so happy in a house of their own.
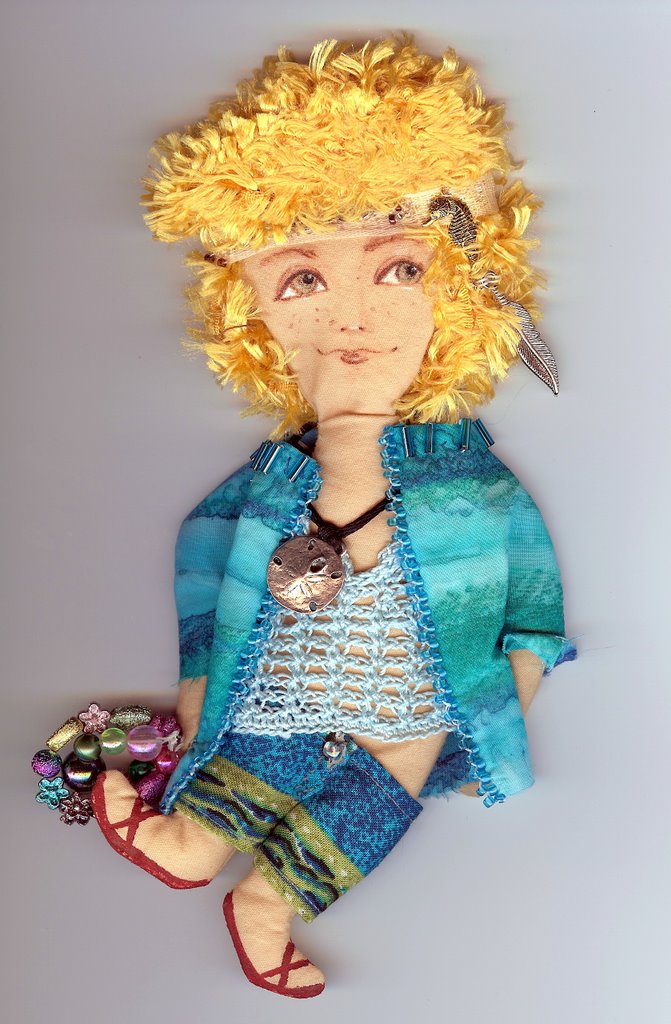 This little guy is Shashi's Flat Stanley doll from our round robin. He is even more adorable in real life than he is in these scans, and the little charmer knows it, too!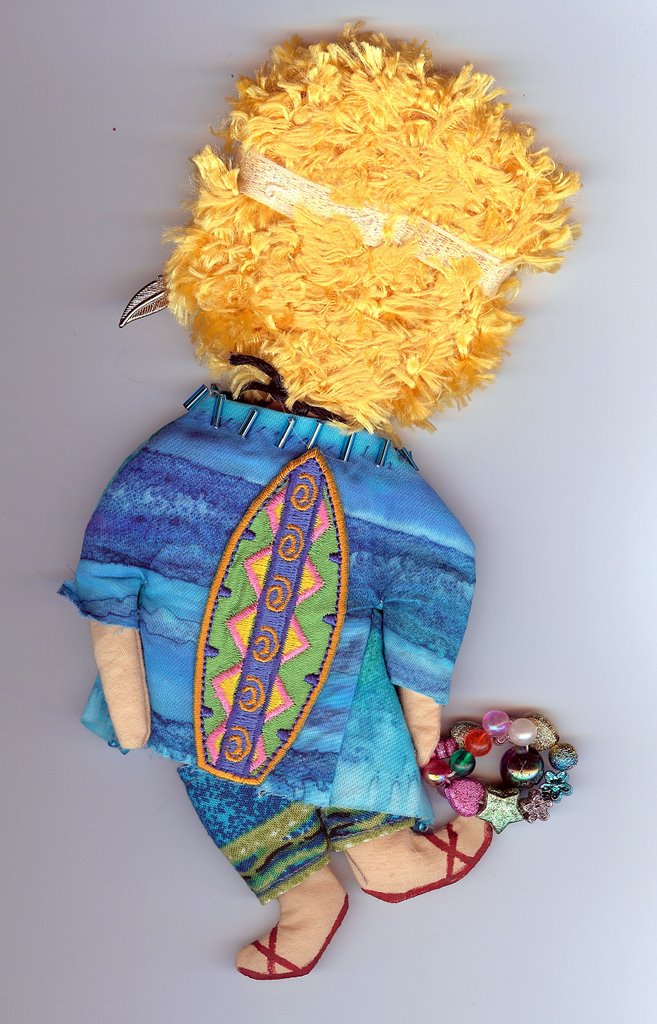
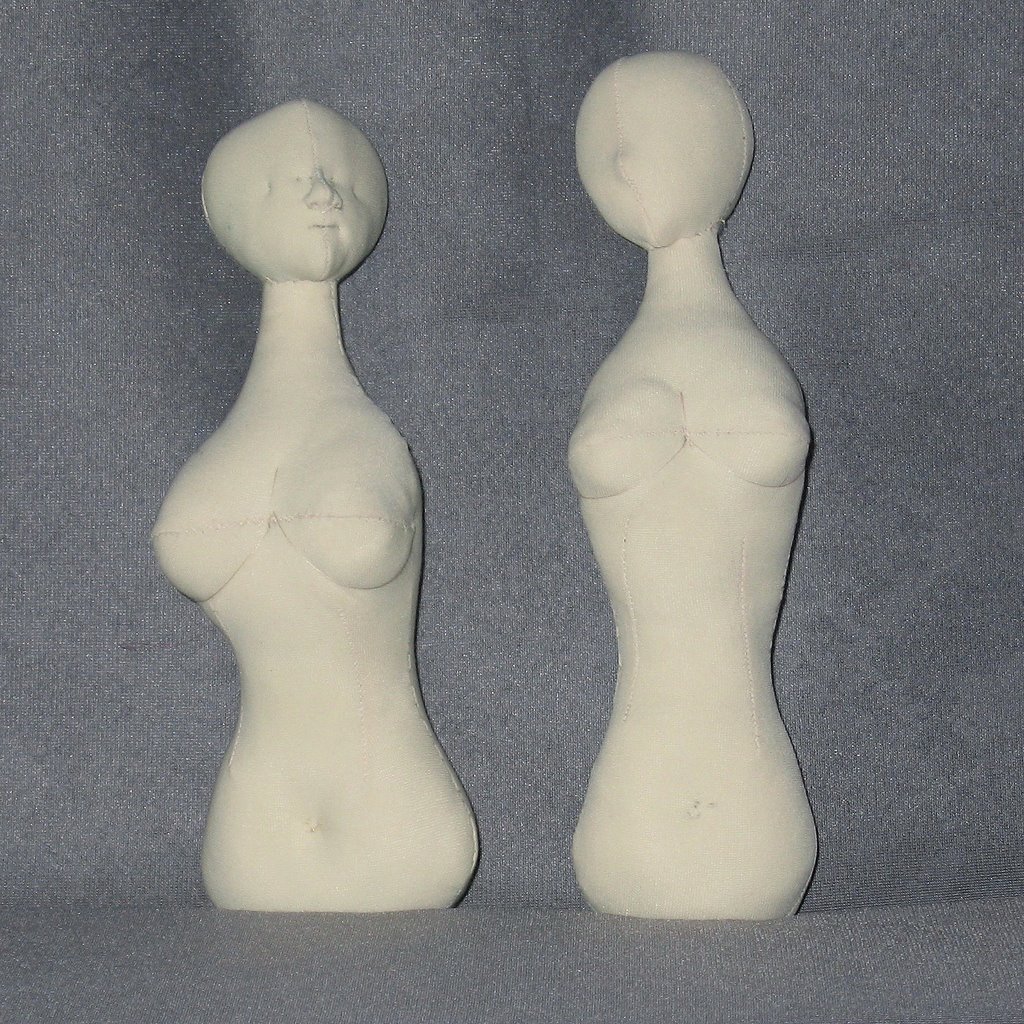 These are bodies made from the same piece of doe suede using exactly the same pattern pieces ("Eustacia" by Mary Tressler). The only difference is that the pieces for the doll on the left were cut with the stretch going around her body. The doll on the right has the stretch running lengthwise. I am amazed by the differences in their shaping!
 I started a painting this week too. This is the underlayer of what will be a collage of rice papers and watercolor paints. I learned this technique from a video I bought off eBay -- I am just waiting for the rice papers I ordered to be delivered.
 Anyway...
 Jake and Alice were the clowns of the trip. It's a good thing these 2 love each other -- their senses of humor can leave me speechless sometimes...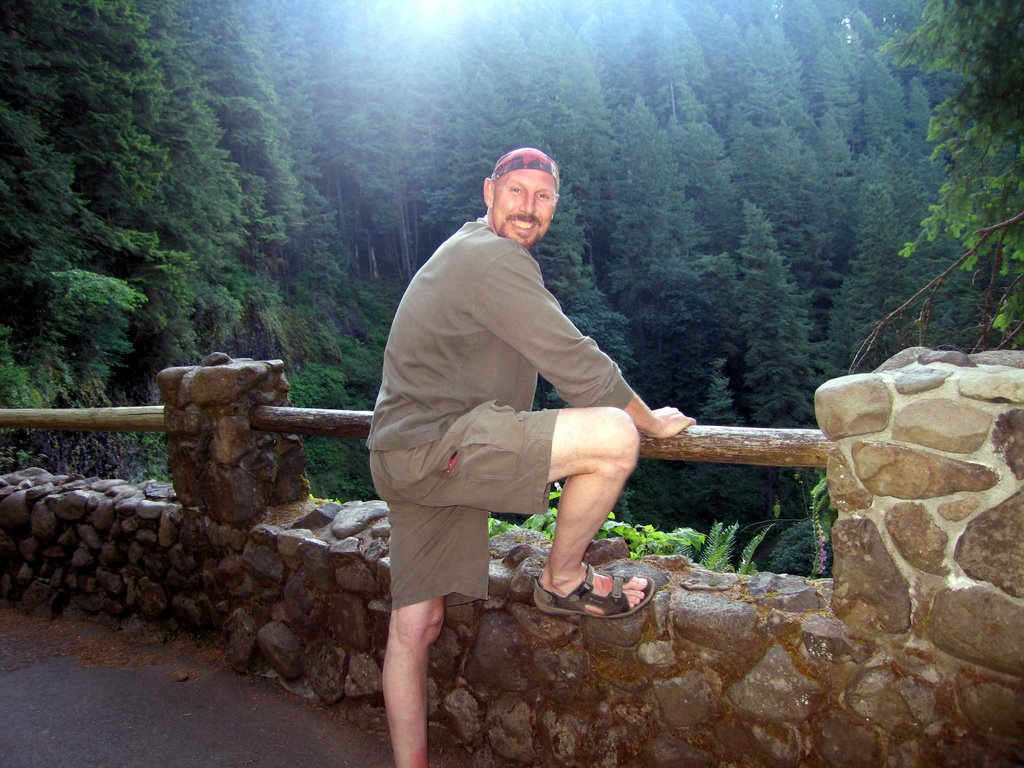
 Here is a sample of what I mean... Lydia is just a little afraid of heights, so OF COURSE these 2 had to freak her out by pretending to dive off the top of South Falls, a drop of "only" 177 feet.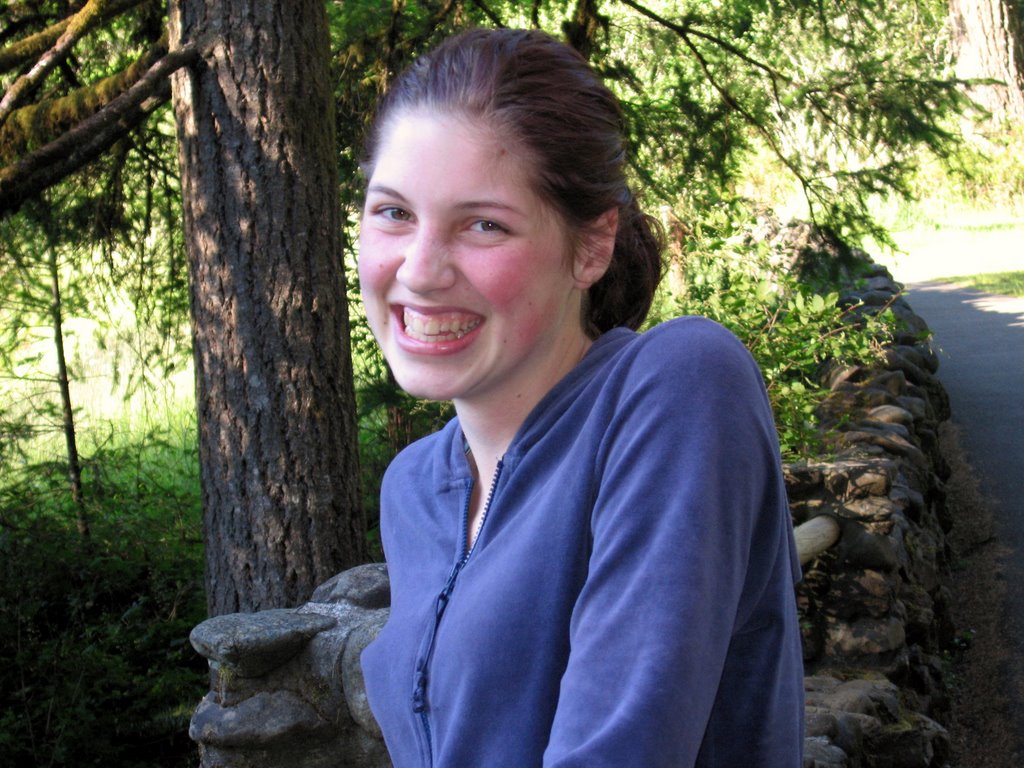

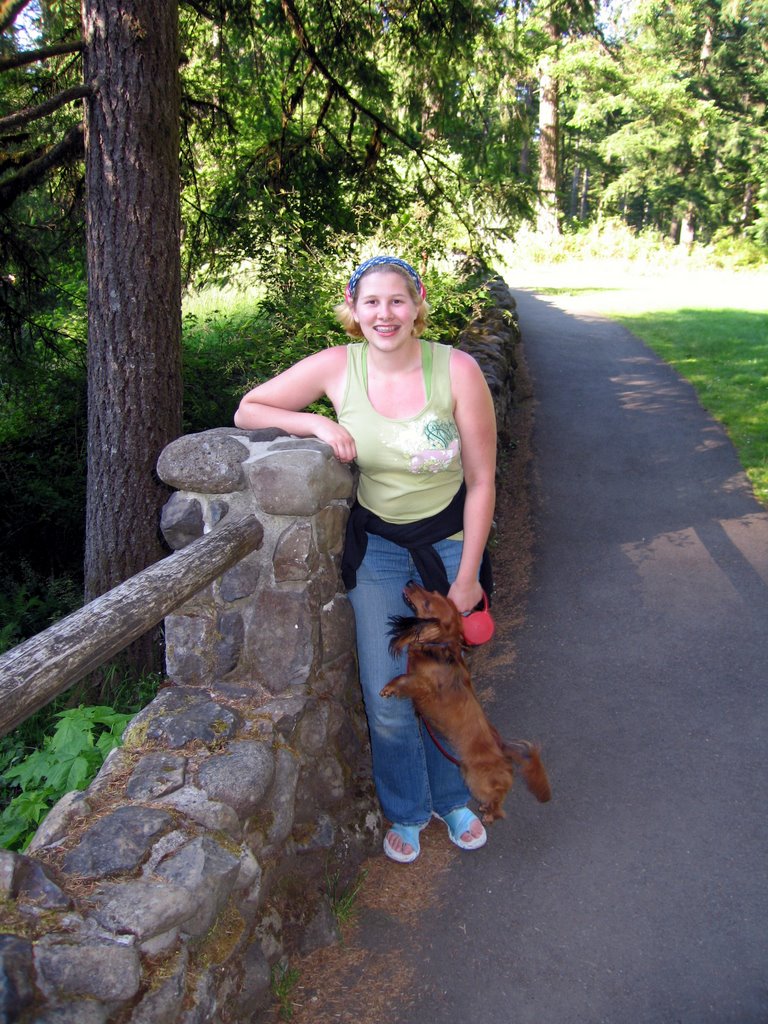
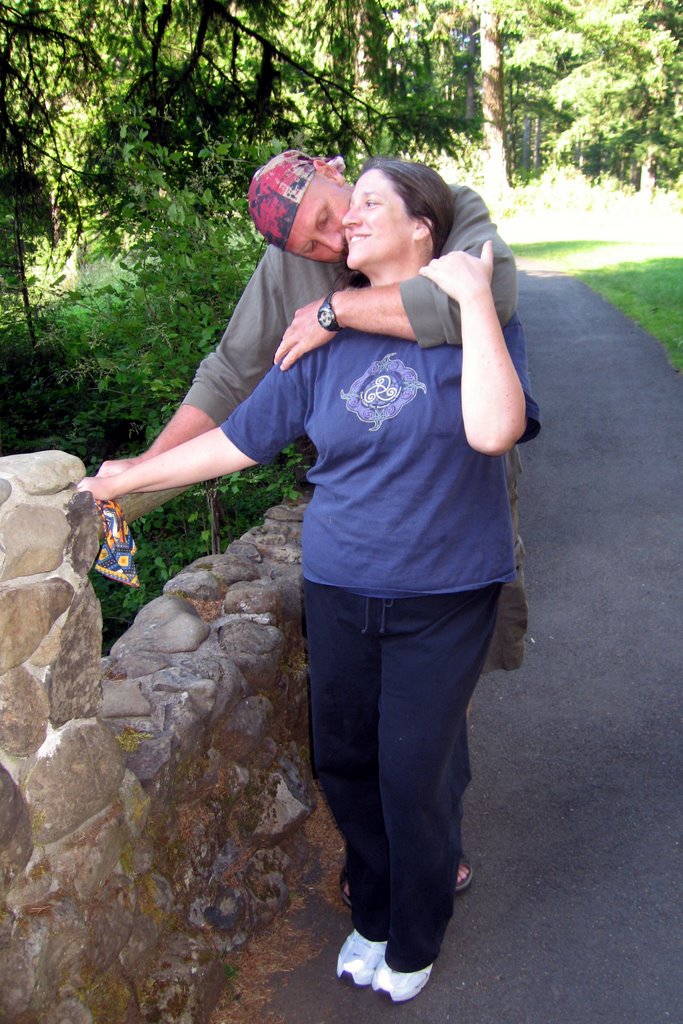

 This one isn't quite so good. I think there was just too great a difference in the light conditions between where I was standing (UNDER the waterfall!) and what I was trying to photograph. Nevertheless, I think it is cool that I have finally discovered a way to capture the entire view -- from below my feet to high above my head -- in a single image.
 Will you just look at this poor little creature?? Too much blush, bad embroidery, and, to add insult to injury, his little ears are SO out of alignment. His nose could have used another line or two of stitching, and his eyes aren't indented evenly.
On the other hand, after an afternoon's work in front of a movie -- one of my last solo afternoons before my girls are out of school for the summer -- he is finally assembled and no longer lying in fragments under my cutting table where he has lived since approximately 1998. This is definitely a Good Thing.
All the "quickly doable" old projects from under the table have now been completed. I am longing to begin something new, but there are still quite a few dolls to be worked on. Most of them are pretty cool too, so it's not as if I don't *want* to finish them. (Except maybe that white/white doll who is causing me so much grief -- WHY does she hate everything I do for her??)And I really do NEED to get these girls out of my work space if I ever want to have any hope of sanity in there.
It's way more fun to start something new though, LOL!
 I do not need another hobby.
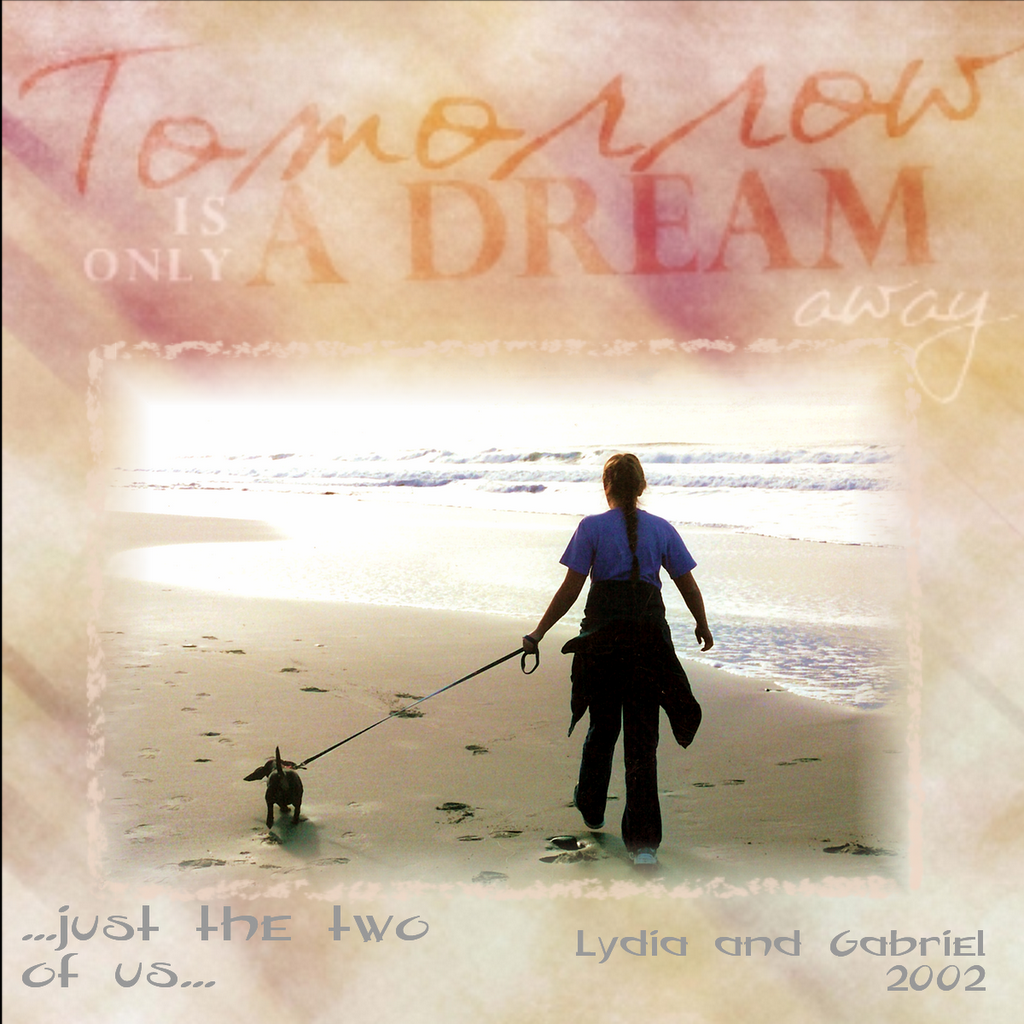 It is also something of an "instant gratification" thing, as these are so much faster and more fun to do. I know, I know... they are VERY basic layouts, but I find that I actively dislike the current trend of throwing everything INCLUDING the kitchen sink in with a simple photograph in a layout. TOO MUCH!
 So here she is. Please meet "Poppy", the flower fairy. I had an interesting time getting a photo of her -- I think her green skin confused my photo editing software, LOL. These colors are pretty true.
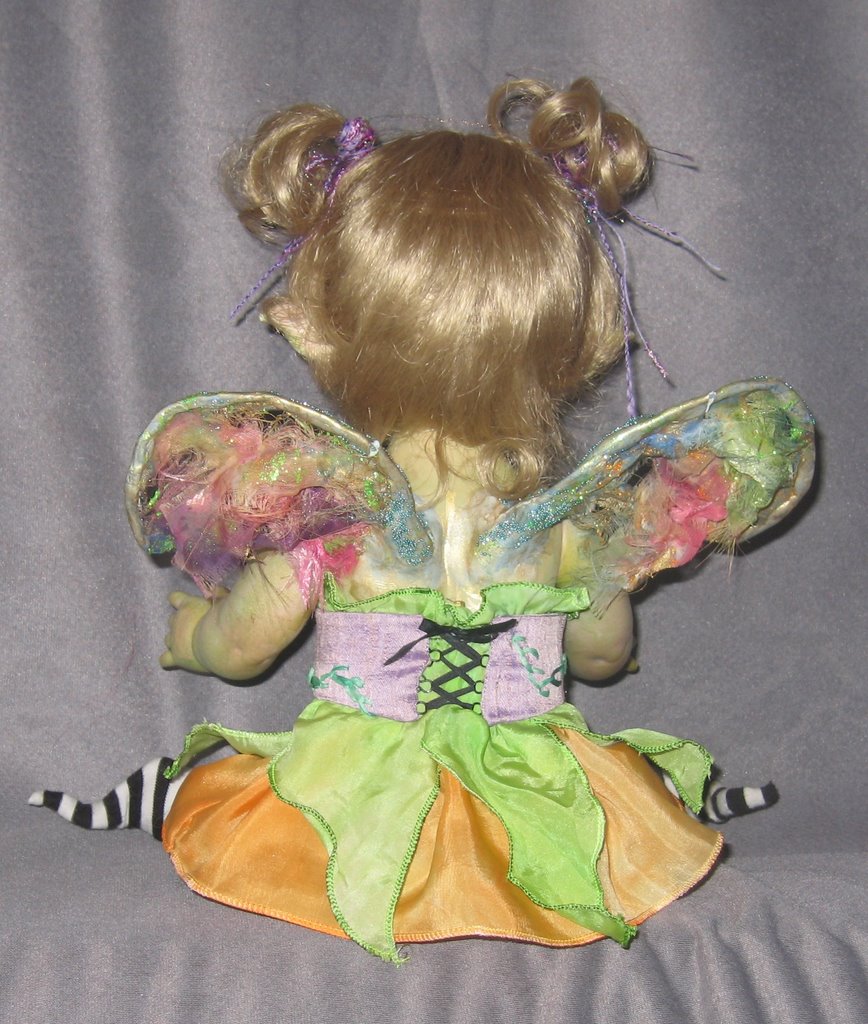 I had to use my largest drill bit to make the holes to insert her wings. THAT was scarey! Now that I look at the photos, I think I want to add some more of the microbead tattoos to her back. The rear view is a little skimpy compared to the front...
 This poor baby has spent the last 10 or so years in the bottom of my daughter's toy box. She is a grimy mess, but isn't she pretty??
 I'm about half way done with her costume. The plan is for her to be a little goth-ish flower fairy. Is that too big a contradiction? Her wings still need a few more embellishments -- I need to take a photo of the back view so you can see how they blend into her body. It was scarey drilling the holes to insert the wings. It took the biggest bit I have to make a hole large enough. They looked HUGE, but a little more Aves around the hole and blended into her skin holds the wings nicely stable.
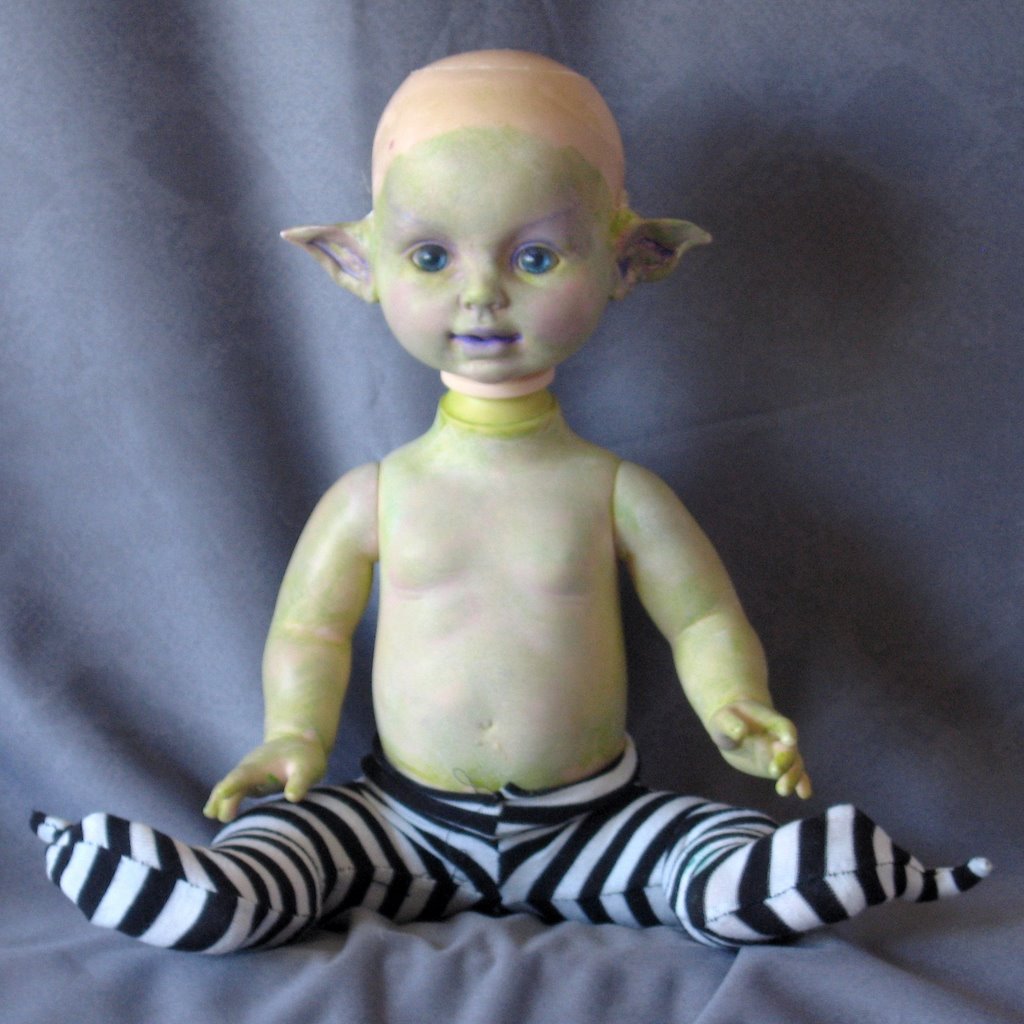 I painted my little fairy girl last night. Oooohhh, that made for a bad moment just at first. She turned out WAY too green, AND her wig melted in the oven. (Oh dear!) On the other hand, the wig will be easy enough to replace (I didn't like it much anyway,) and the vinyl softened up enough to pop her head off to make her easier to work with. All is not lost after all!
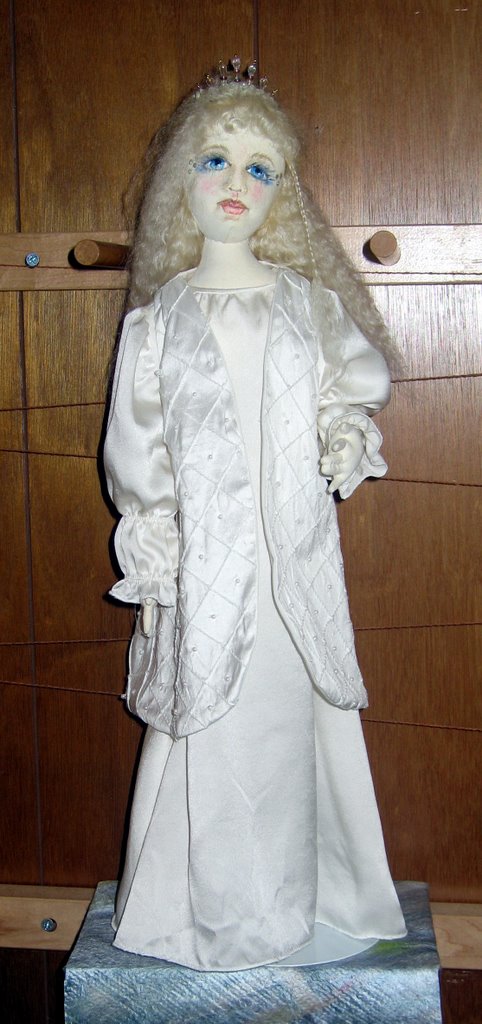 Here are the photos I promised of my white-on-white doll in progress. The glare in the photo washes out the nice tones of the silk her gown and robe are made of, which is too bad, but turning off the flash robbed her face and hair piece of their detail. Sigh...
 I lost the instructions for making her wings, so I am using the instructions from an online class I took this spring from Jean Bernard. These wings made of shredded crystal organza and floral wire. The upper wire is reinforced with Aves. I still have the painting and glitter and bead embellishments to add -- these are labor intensive wings!
 Here is my little Goodwill baby with her ears and toes sculpted. I have painted the additions a flesh color and they are now in the oven for a heat set. The next step will be to add a wash of color to the vinyl to give her a fairy skin tone. I am thinking that a very pale green with violet shadows will be what she wants.
 Anyway, I sewed them up this morning. It's a pity the LB horse print doesn't show up better in the photo. It is a spectcular print. Aren't they cute??! And best of all, the girls like them too. It has been a long time since they let me make something for them. I hadn't realized I missed that feeling so much.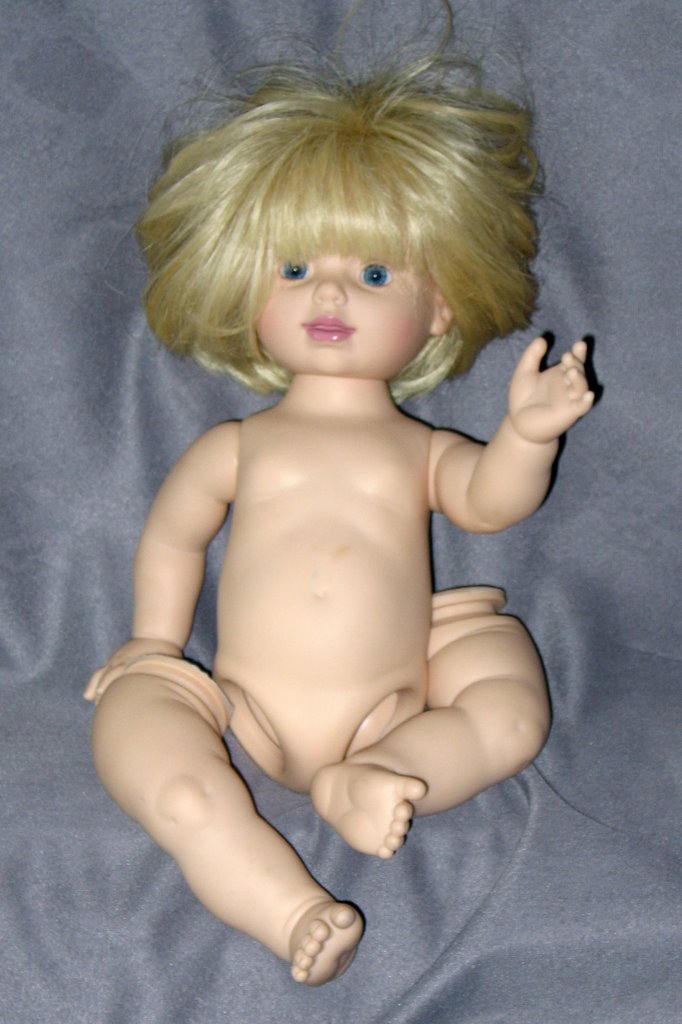
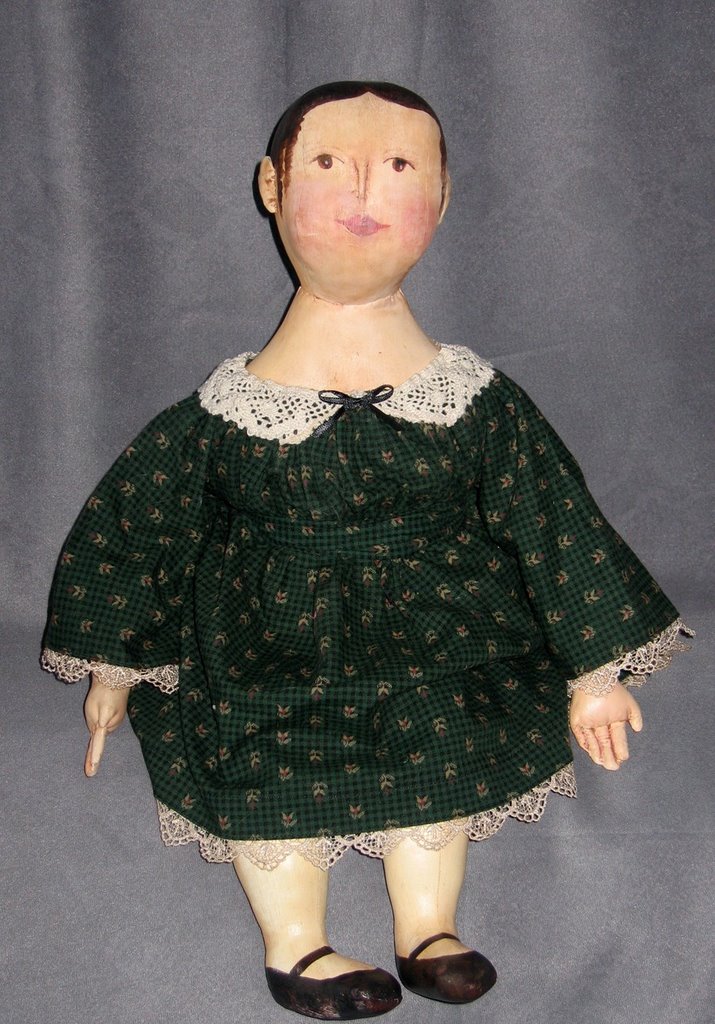 Here is the surprise doll I mentioned last week. Her name is "Serenity Rose" which is such a lovely and appropriate name -- she is going to live with my Mom as a Mother's Day gift. I didn't want to post her photo too soon, as mom checks the blog now and again and I didn't want to spoil her surprise. My dear dear Mom is so hard to choose gifts for. I hope she likes her...
 Here we are looking into the north field where you can see the chopper (in front) blowing the grass into the truck behind it. This truck will then take the grass to the other side of the farm to the silo for packing. The other truck on the right is waiting to take its place when the first truck is full.
 This is the same truck dumping its load of grass in front of the silage pit, all ready for the tractors to push up into a neat, tidy, and well packed-down pile so that it can ferment properly without drying into hay or developing mold. That's Jake in the tractor on the right -- I haven't seen him all day. I wonder if he has had anything to eat yet...
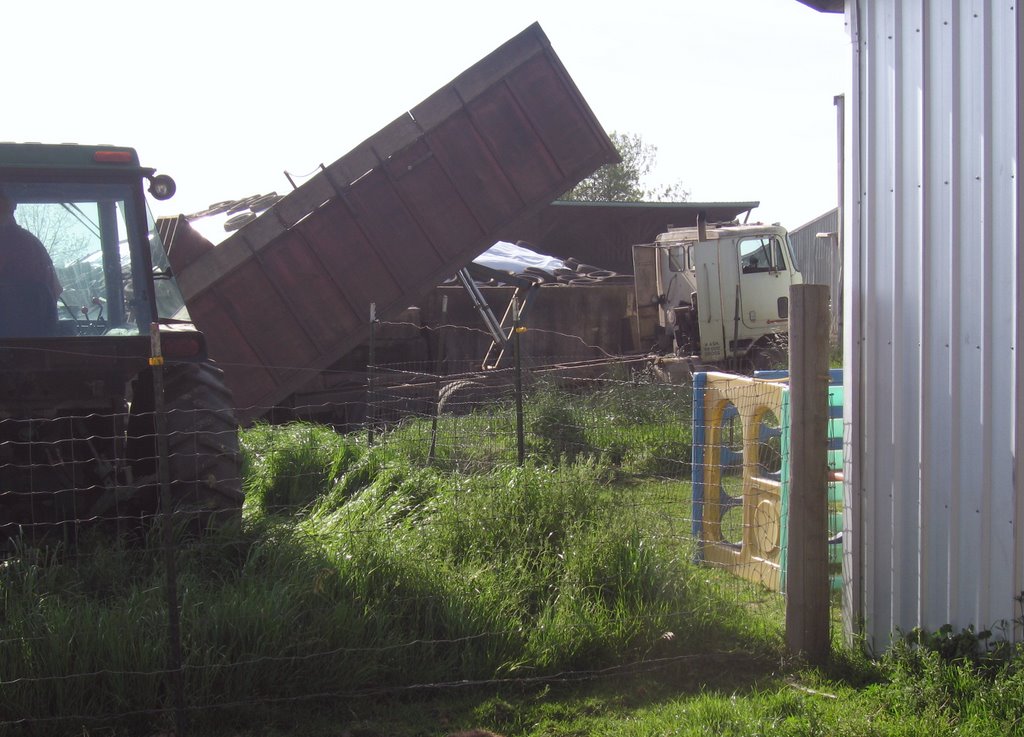 Off it goes to get back in line for another load. And so it goes... and goes... and goes...
 This is the part that makes me nervous. Those tractors are plenty big enough for the job -- at least they look big enough when they are down on the ground where they belong. But look how high up they go!!!
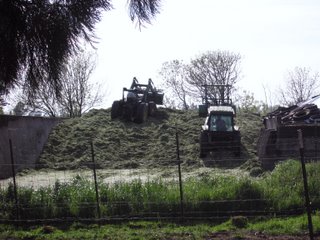 It's not nearly as nerve wracking to watch as when they o corn in the fall, but it still makes me plenty thankful when the grass is all piled up and covered and my man is safely back down on the ground. It's not that I don't trust him to know what he's doing... I just can't bear to watch!

